Post Process Materials
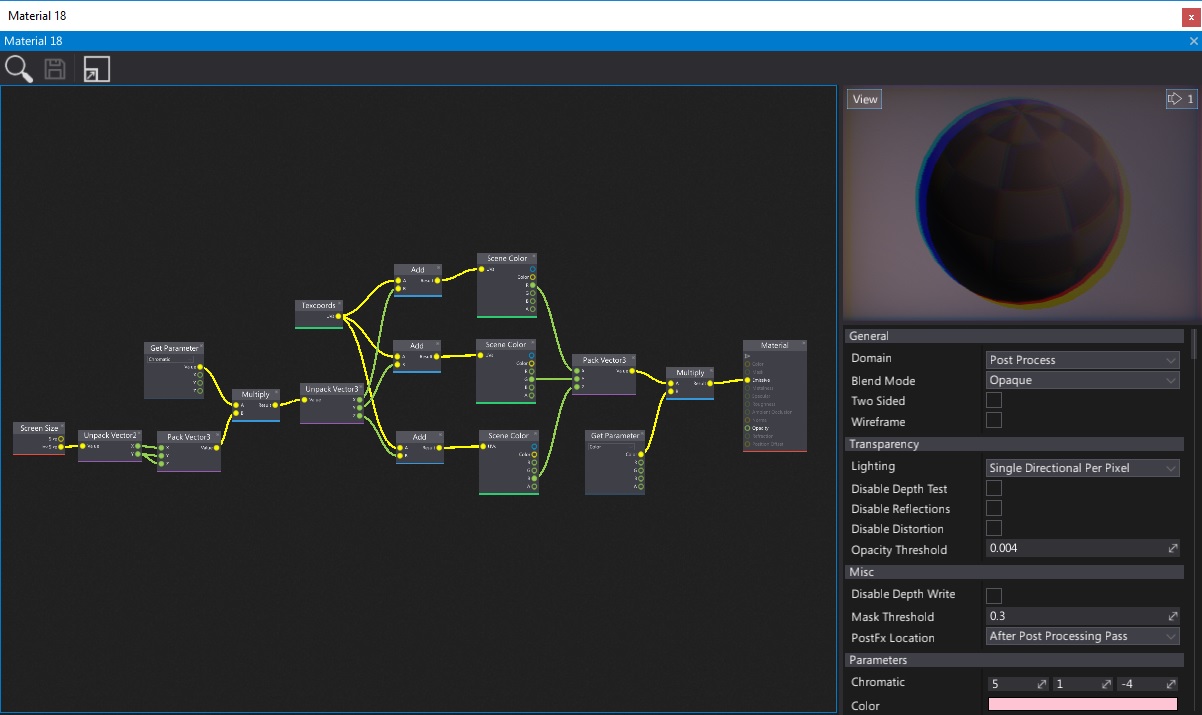
The Post Process Materials pipeline is a feature that allows game developers to create their own post and mid image effects. For example, you can create a visual screen effect for player damage or change the overall look of your game. Using Post Fx Materials is the easiest way to extend the graphics pipeline by custom image processing in screen space.
To learn more about creating and using materials, check out the related documentation here.
Creating a post process material
Post process material creation is similar to other material types. Use the following tutorial to create a meterial with simple distortion and coloring effects.
Create new material and open it.
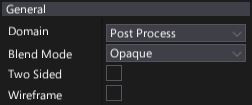
Change the Domain to Post Process (see Material Properties to learn more).
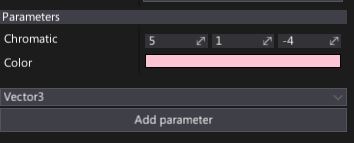
Add the Color (Color type) and Chromatic (Float3 type) parameters.
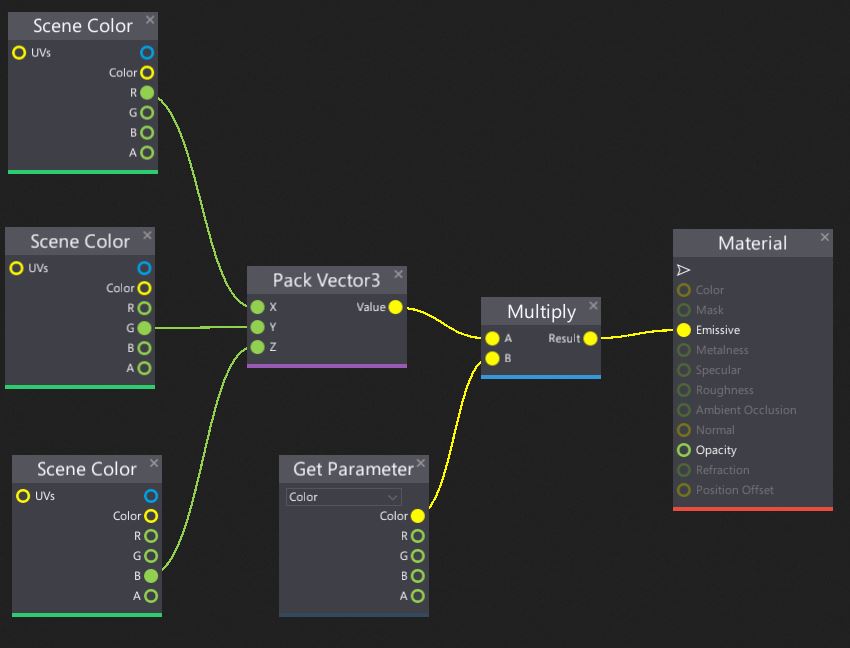
Create three Scene Color nodes, use a single channel from each one (pack to RGB using a Pack Float3 node) and multiply it by the Color (use a constant or parameter). Connect the output to the Emissive input.
Recreate the following graph that offsets the color samples (in screen space) with respect to the Chromatic parameter value divided by the screen size.
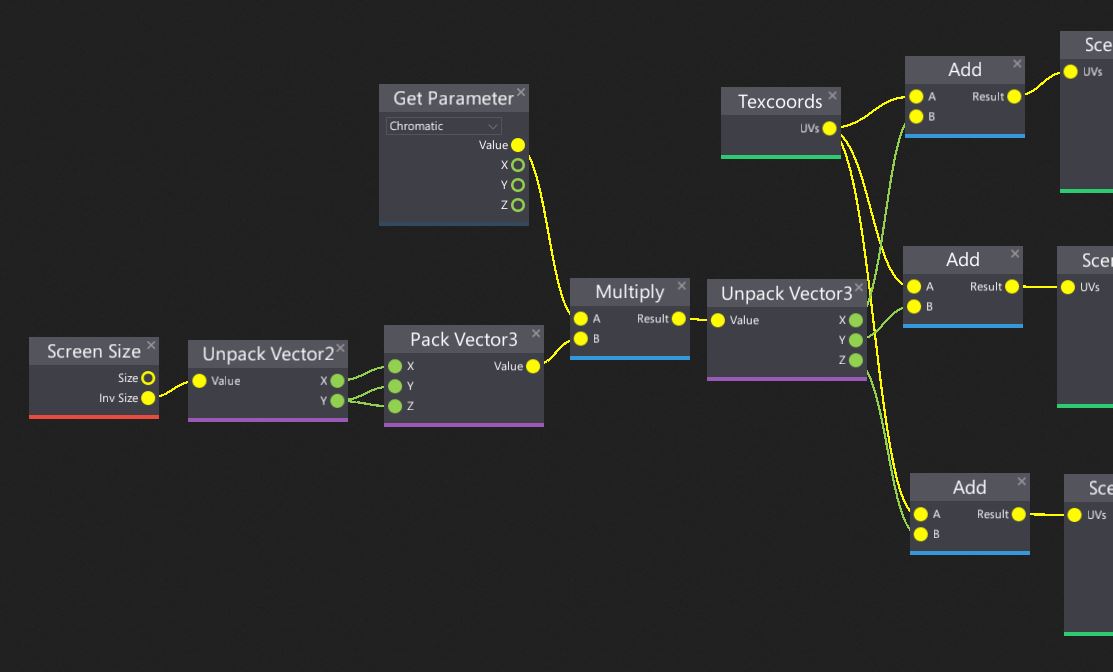
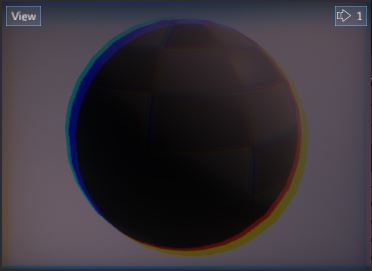
The material is ready!
Applying a post process material
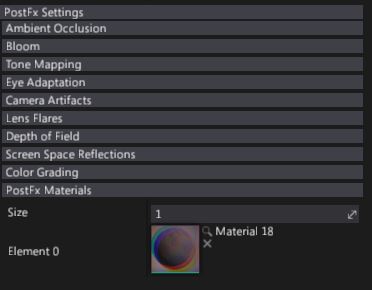
There are several ways to apply a PostFx material. The easiest one is to use a PostFx Volume. Simply create a new actor, select it and under the PostFx Materials group set Size to 1. Then drag and drop your postFx material into the free slot.
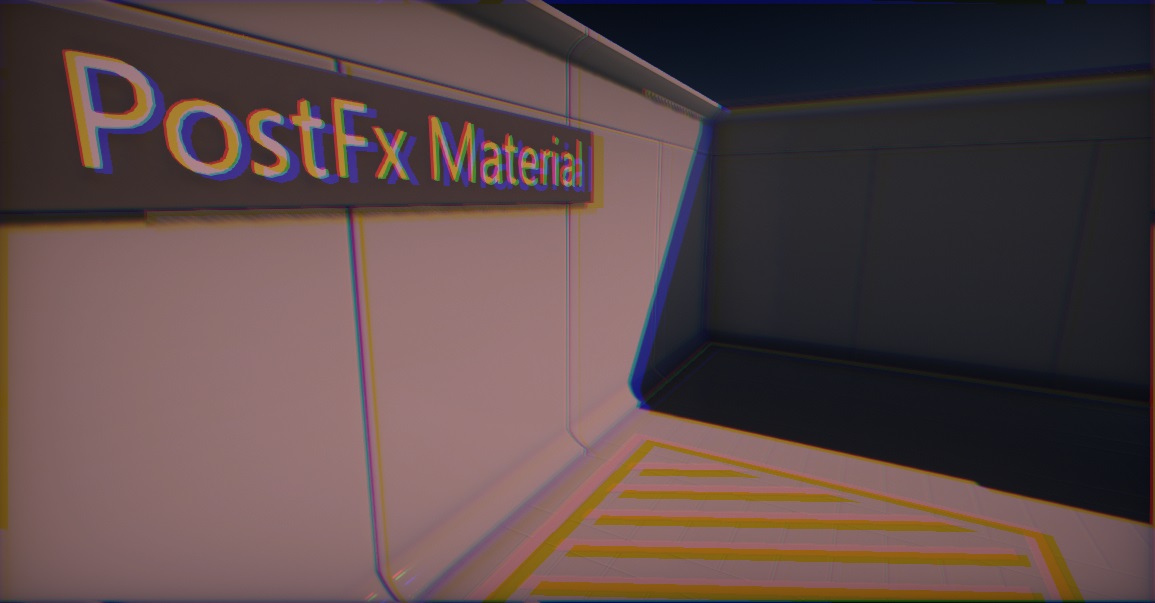
Move the camera into the volume to see the final effect.
Note
A single PostFx Volume can use up to 8 post-process materials, but you can stack them and use an unlimited amount of post process materials. Hovewer, keep in mind maintaining solid game performance because rendering fullscreen effects may slow down the game.
When extending the rendering pipeline with C# scripts and using render tasks you can use the Renderer.DrawPostFxMaterial method. This allows extending rendering and using custom drawing with GPUTextures.
Post process inputs
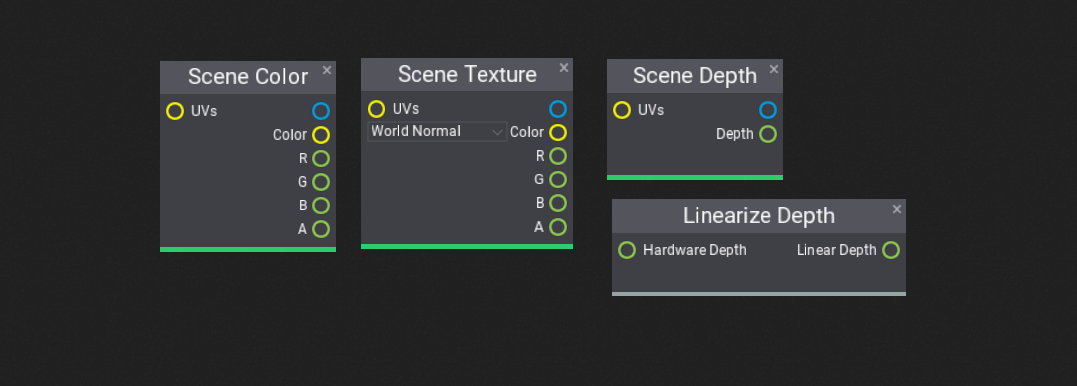
As a main input, post process materials receive Scene Color which contains the pixels within the currently passed input buffer to postprocessing. By default, it's a final rendered frame but if you change the material location it can contain the rendered scene before applying any AA or transparency and be in HDR format.
Usefull nodes:
- Scene Color - the input texture passed to the postfx material by the renderer (see material location options).
- Scene Texture - general purpose access to common scene rendering buffers such as: Diffuse Color, Roughness, World Normal, Base Color, Metalness, etc. It can be used to implement custom effects such as a normal-vector- based edge detection filter.
- Scene Depth - the depth buffer. Can be used to implement depth-based effects such as outline rendering. The Depth output of this node returns the linear depth value (in
0-1range). To access the hardware depth sample texture manually (eg. with Sample Texture node with Point Clamp filter). - Linearize Depth - converts the hardware depth buffer value (from the current camera view) into the linear depth value (in
0-1range). You can multiply the output by Far Plane from the View node to get depth in world units.
Note
If you are experienced with Unreal then PostProcessInput0 is the Scene Color node in Flax for postprocess materials input.
Post process material location
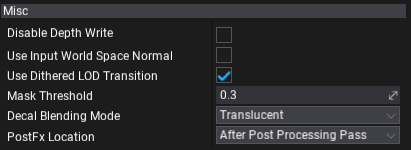
Flax Engine rendering pipeline is very complex. There are many effects that contribute to the final frame. The same applies to post process materials. Every material contains a property called PostFx Location (in the Misc section). By editing it you can specify when your material should be rendered. Possible options:
| Option | Description |
|---|---|
| After Post Processing Pass | Render the material after the post processing pass using LDR input frame. |
| Before Post Processing Pass | Render the material before the post processing pass using HDR input frame. |
| Before Forward Pass | Render the material before the forward pass but after GBuffer with HDR input frame. |
| After Custom Post Effects | Render the material after custom post effects (scripted). |
| Before Reflections Pass | Render the material before the reflections pass but after the lighting pass using HDR input frame. It can be used to implement a custom light types that accumulate lighting to the light buffer. |
| After Anti-Aliasing Pass | Render the material after anti-aliasing into the output backbuffer. |
| After Forward Pass | Render the material after the forward pass but before any post processing. |