Installing The Flax Launcher

To get Flax: visit the download page to download the Flax Launcher installer.
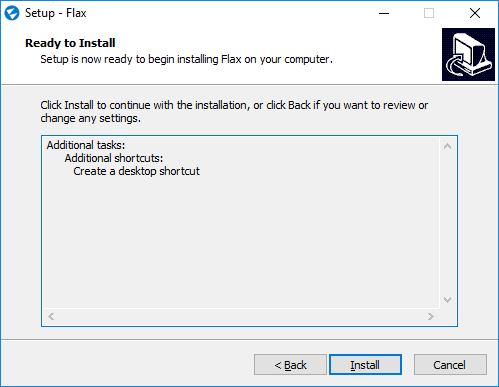
After downloading it, start the installer and follow the installation wizard steps. In order to install Flax you will be asked to accept the EULA which defines the engine licensing terms. You can learn more about legal regulations here.
To learn more about the software and hardware requirements please visit this page.
Running The Flax Launcher
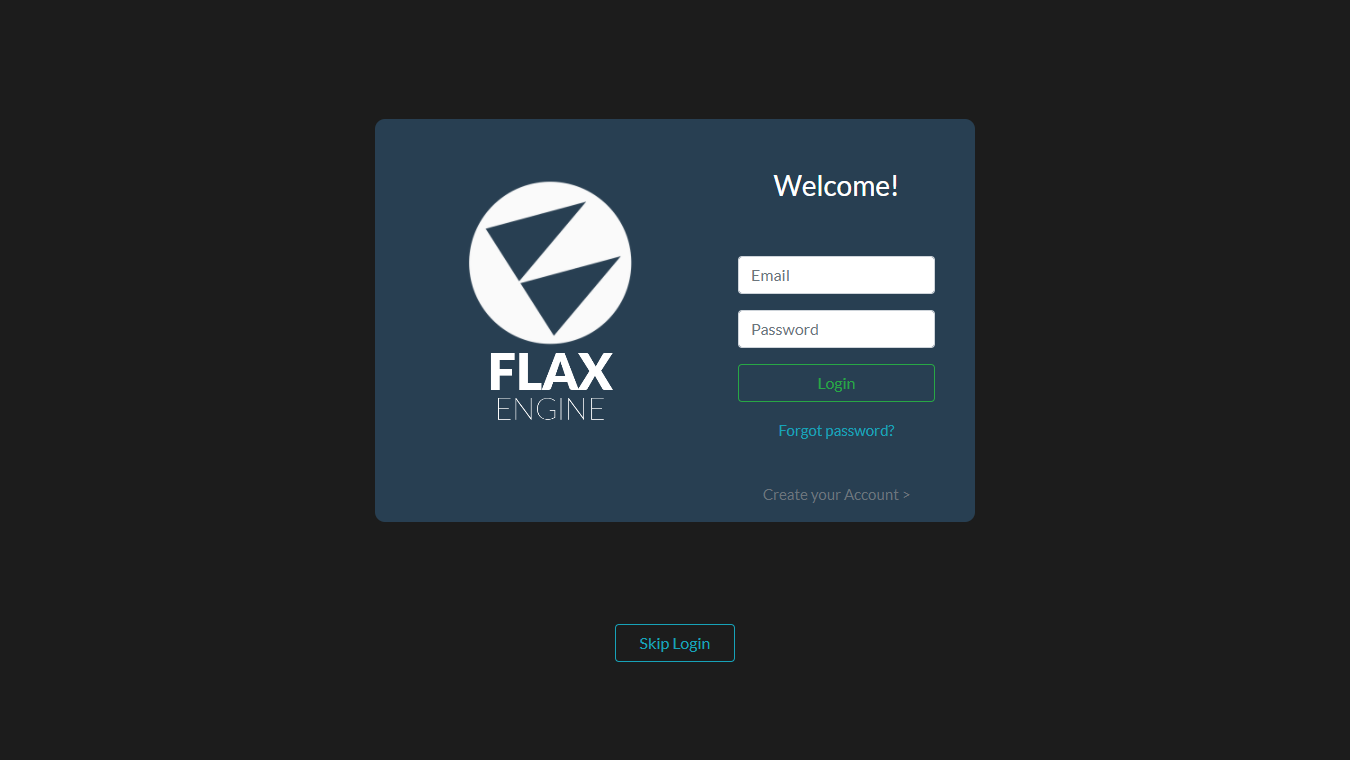
To install the Flax Engine run Flax (By default Flax creates a shortcut on the desktop.) The next step is to log in to the Flax Launcher.
Note
This step is optional and can be skipped by clicking Skip Login.

Installing The Flax Engine
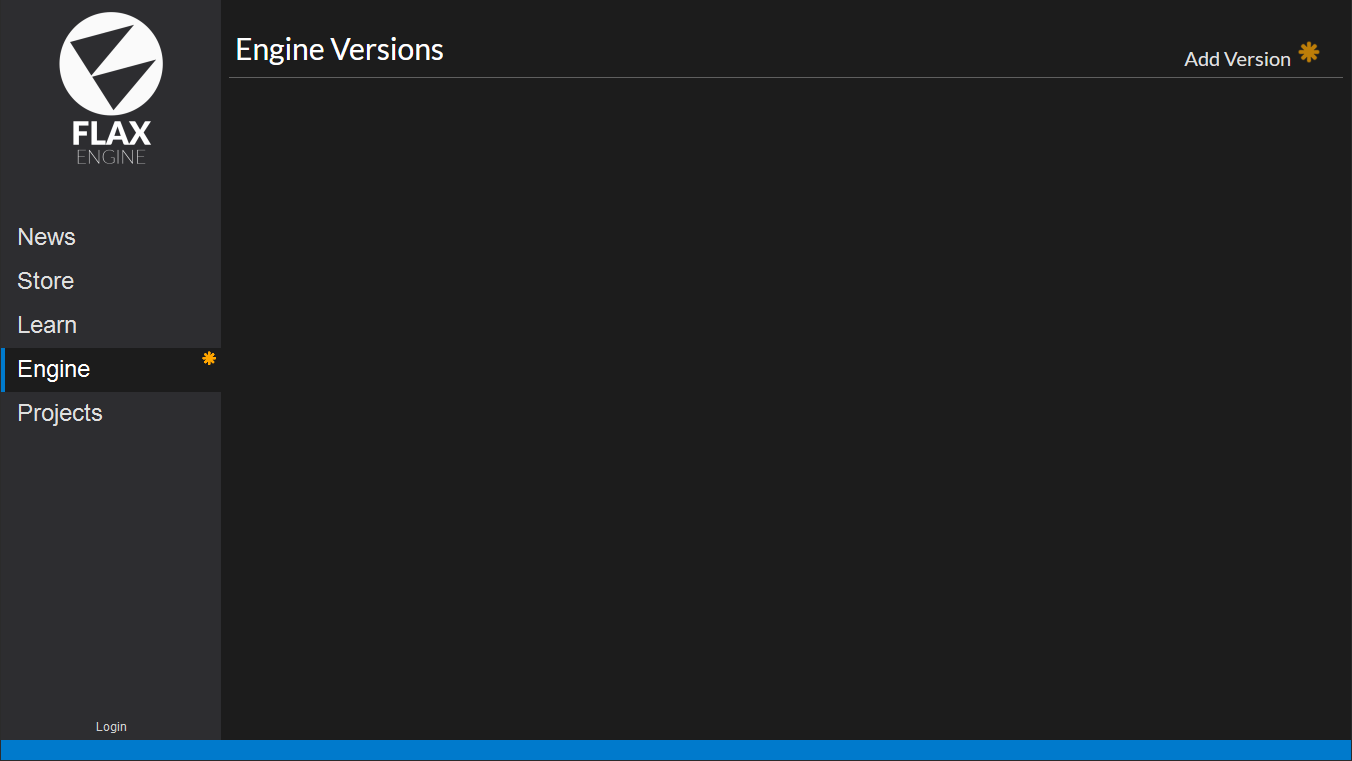
After loging in go to the Engine page. Here you can download and manage engine installations. You can have different versions of Flax installed on your computer. To download updates and additional packgages, go to the Engine page.

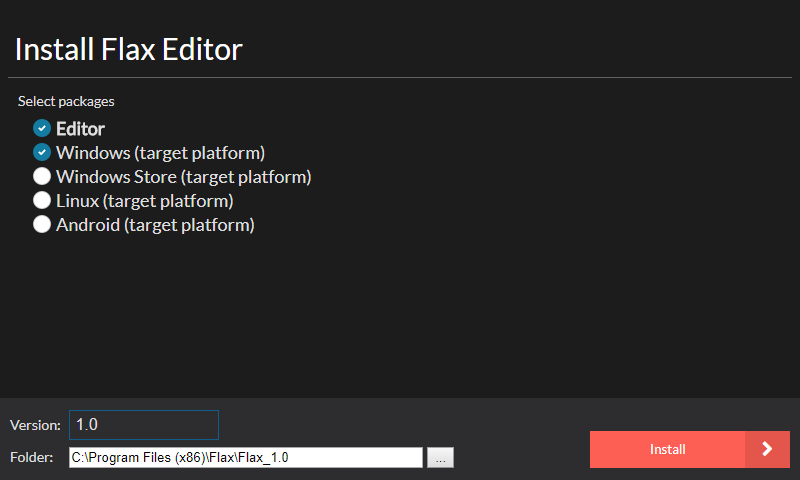
To install Flax use the Add Version button to select the Engine version and installation destination folder. Here you can choose to install packages required to build and deploy your game on different platforms. Finally, press the Install button to download the Flax binaries.
Pick the engine version to install by using the Version dropdown menu. By default the latest version is selected, but you can change it to get an older engine version (eg. the one that your team is using). Also, it allows to download daily builds from the Github master branch (named master branch (daily)). There is a new build every day, which allows you to try new features and bug fixes.

Note
The engine version with a blue outline is marked as a default to open projects. Click on the 3 dot menu of any instalation to set it as the new default or to modify it's properties.

You are now all set up to create great games and experiences. We can't wait to see what great things you're going to create with Flax! Start by creating your project.