HOWTO: Creating UI from code
In this tutorial, you will learn how to create a user interface for your game. Follow these steps to prepare a simple heath bar for your player.
1. Create PlayerHealthFromCode script
Add a new script named PlayerHealthFromCode that will control the player's health level and update the progress bar to visualize it. To learn more about creating and using scripts see this tutorial.
2. Edit script
Open the script file and write the following code:
using FlaxEngine;
using FlaxEngine.GUI;

namespace Game
{
    public class PlayerHealthFromCode : Script
    {
        [Limit(0, 100), Tooltip("The current player health (in range 0-100)")]
        public float Health { get; set; } = 100.0f;

        private ProgressBar _healthBar;

        public override void OnEnable()
        {
            _healthBar = new ProgressBar
            {
                Width = 120,
                Parent = RootControl.GameRoot,
            };
            _healthBar.Value = Health;
        }

        public override void OnDisable()
        {
            _healthBar.Dispose();
            _healthBar = null;
        }

        public override void OnUpdate()
        {
            if (Input.GetKey(KeyboardKeys.Q))
                Health -= 5;

            if (Input.GetKey(KeyboardKeys.E))
                Health += 5;

            Health = Mathf.Clamp(Health, 0, 100);
            _healthBar.Value = Health;
        }
    }
}
As you can see it creates a ProgressBar control in the OnEnable event and disposes it in OnDisable. The created GUI control is linked to the RootControl.GameRoot container control which is used as a main game UI control (the topmost).
You can create more UI elements and manage them at runtime but remember to dispose or unlink them when the script is being disabled or removed from the game.
3. Add the script to the player
Now drag and drop the script to the player actor.
4. Test it out!
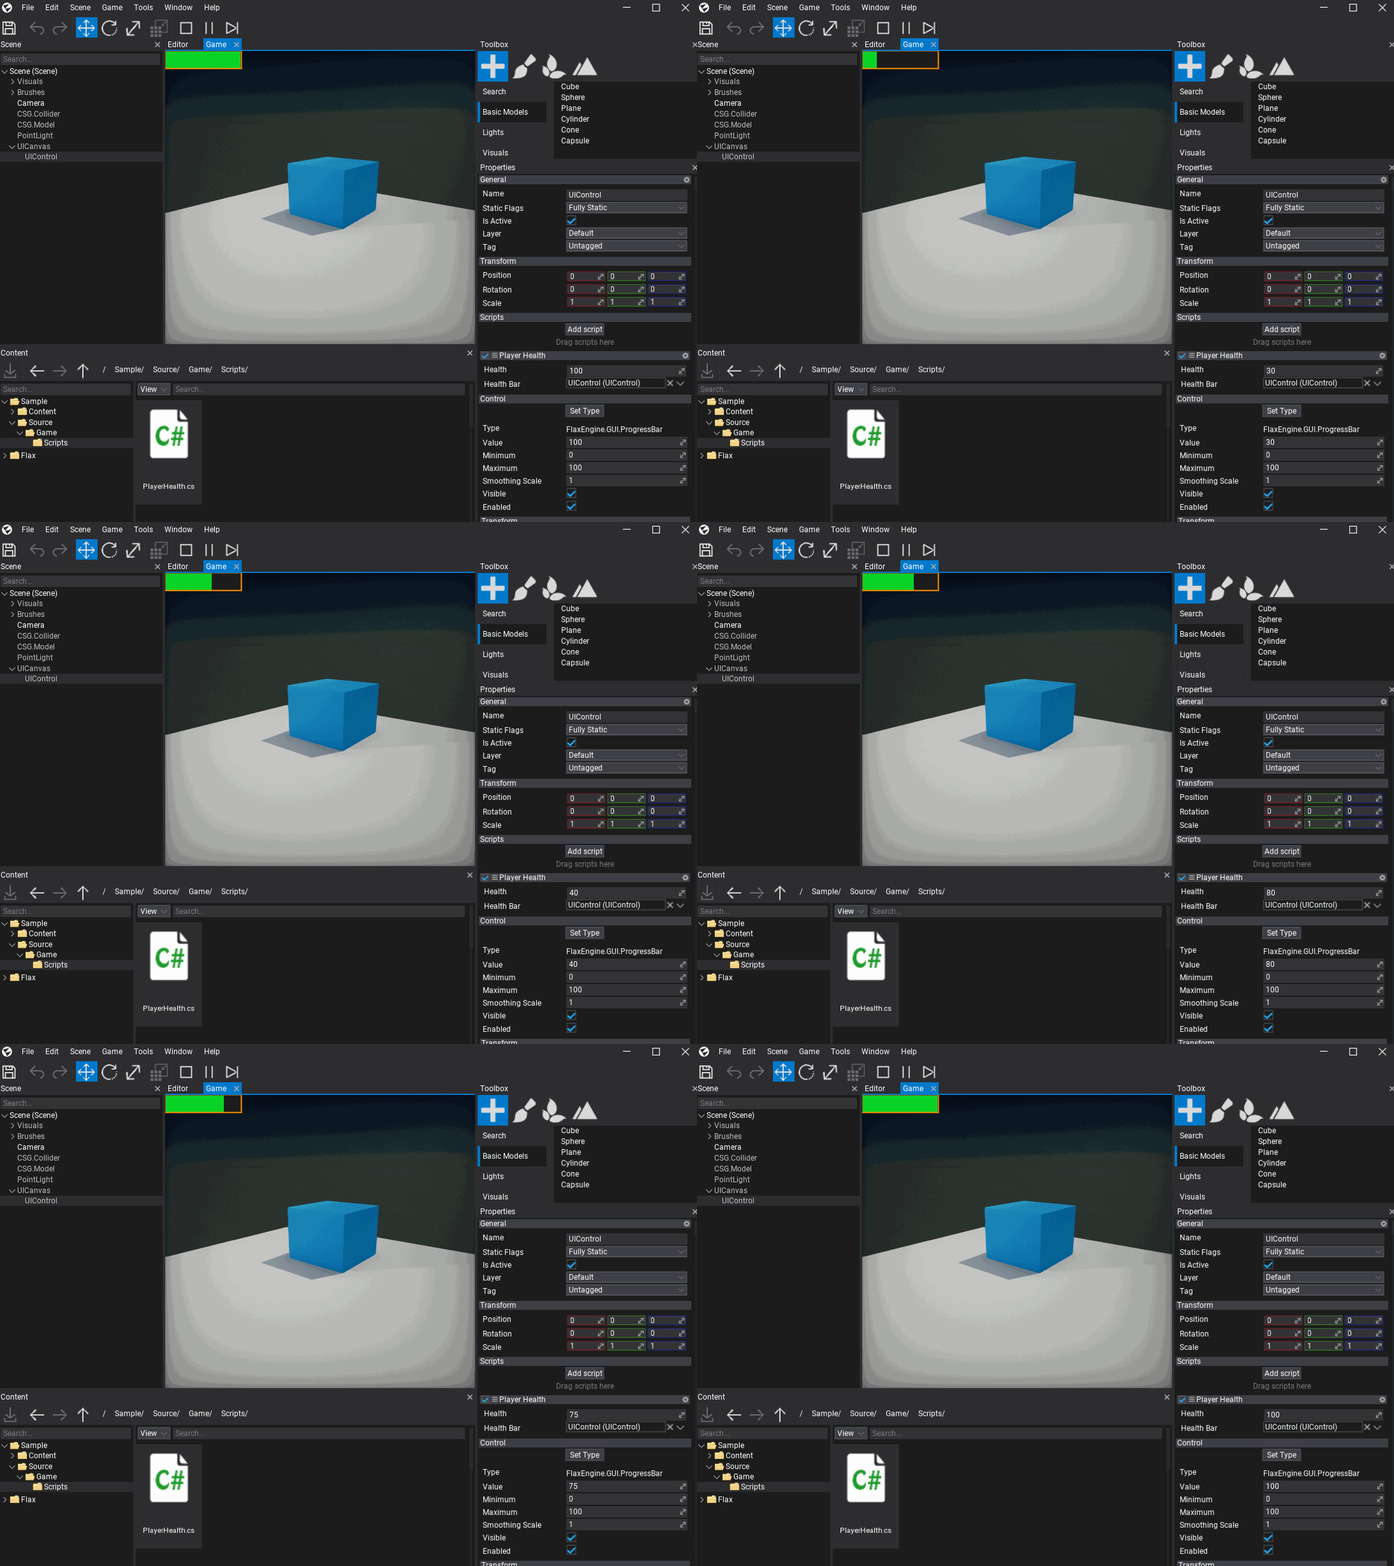
Finally, hit the Play button (or F5 key) and test the player health controller by using the Q and E keys to change it down or up.
Later you can link your existing gameplay logic to visualize the player's health level or create more of a HUD for your game.
