Rider

You can download Rider here.
1. Change source code editor

Open Flax Editor, go to Tools -> Options in main menu to open editor options windows. Then select Source Code tab and set Source Code Editor to Rider. If this option is missing, then ensure you have Rider installed. Confirm with the Save button to apply changes.
2. Attach script to actor
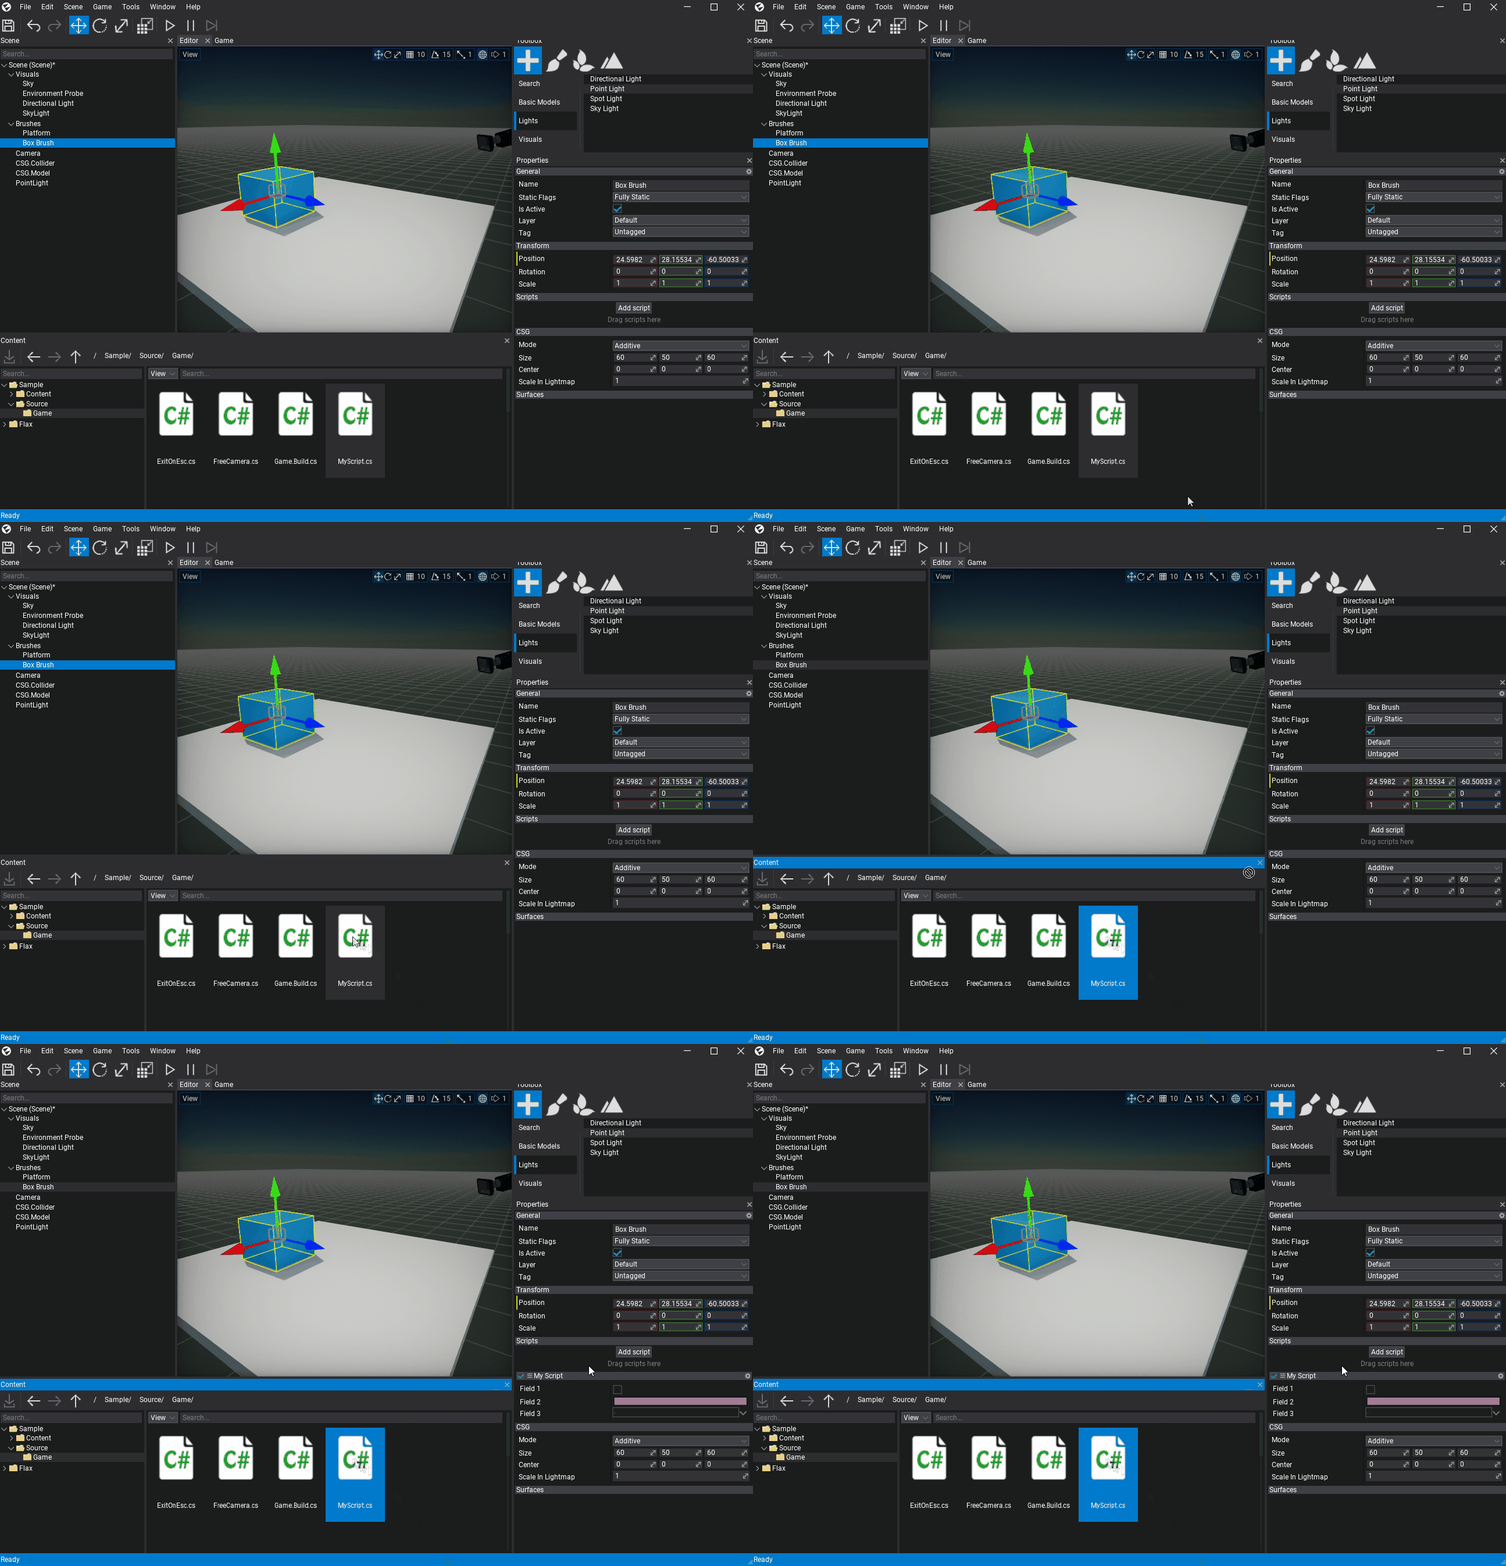
To debug script code it has to be attached to the actor in the scene. Simply drag and drop it into the selected actor properties area.
3. Open script in Rider
Double-click on a script item and wait for the IDE to show up.

4. Add a breakpoint
Click on a left side of the code editor to assign a breakpoint to the line. Red dot should be added as shown in the picture below.

5. Attach to Flax
Now, use Run -> Attach to Process option.

Then, select FlaxEditor process (or cooked Flax Game executable) to attach with .NET Core Debugger (you can attach with native C++ debugger too for native scripts).

6. Start a game
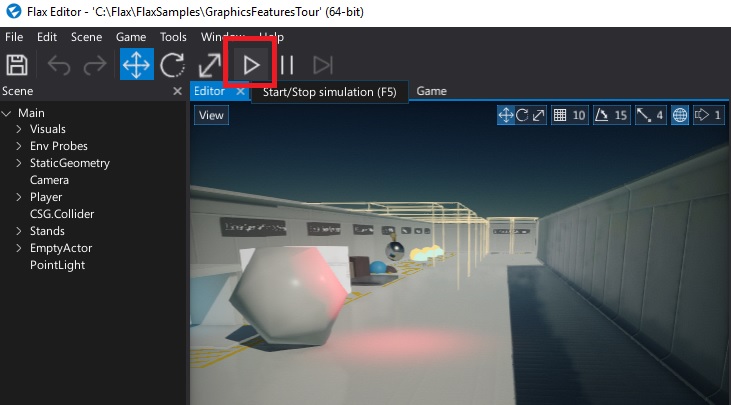
Go back to the Flax Editor and press the Play button to start a game. Then script OnUpdate() function will be called and assigned breakpoint hit.
7. Debug your code
Now you can use all Rider debugging features to verify state of the variables and test your code.

For more information about C# in Rider, see the Rider documentation.